Following the steps from the “Choose Provider” chapter, find your Elastic Beanstalk application in the AWS console and click the “Create application” button to get started.
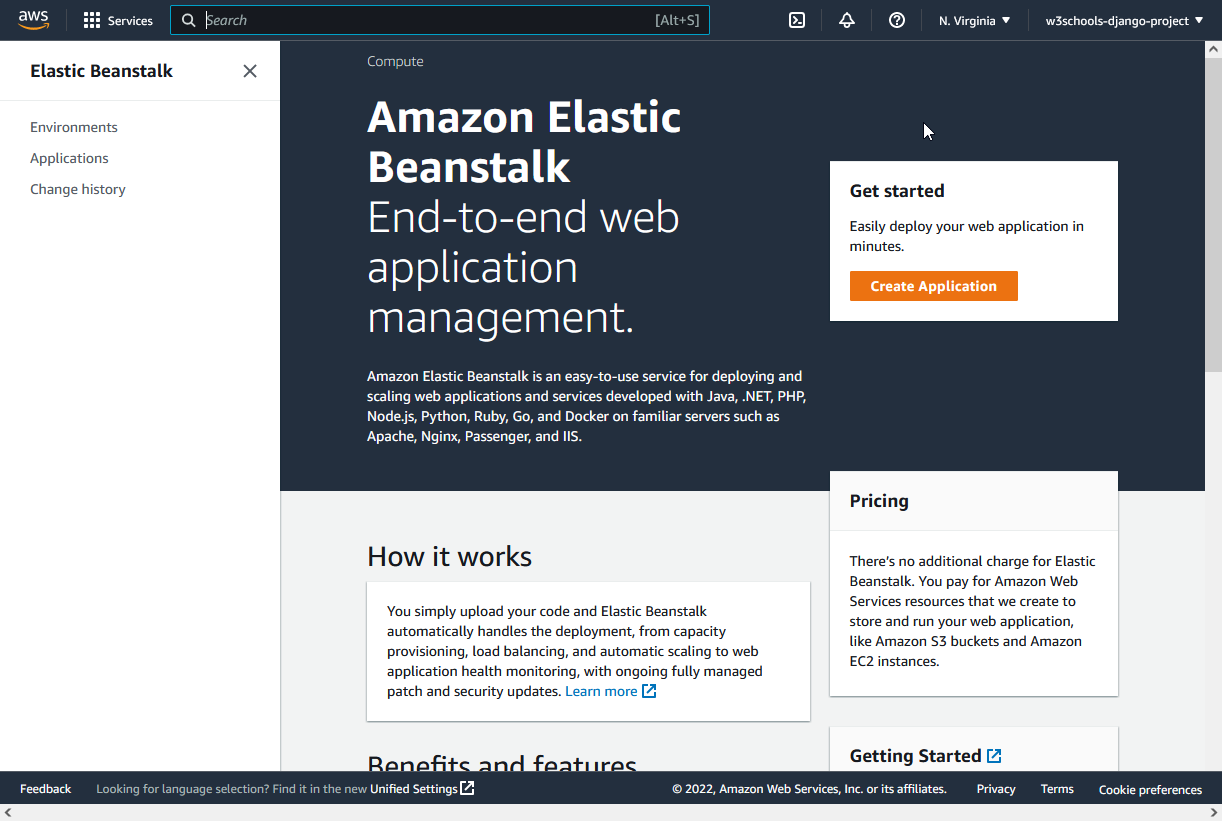
Setting Up an Elastic Beanstalk Application
The “Create Application” button will lead you to a new page where you can specify a name for your Django project. For this example, I’m using the name “my-first-django“.
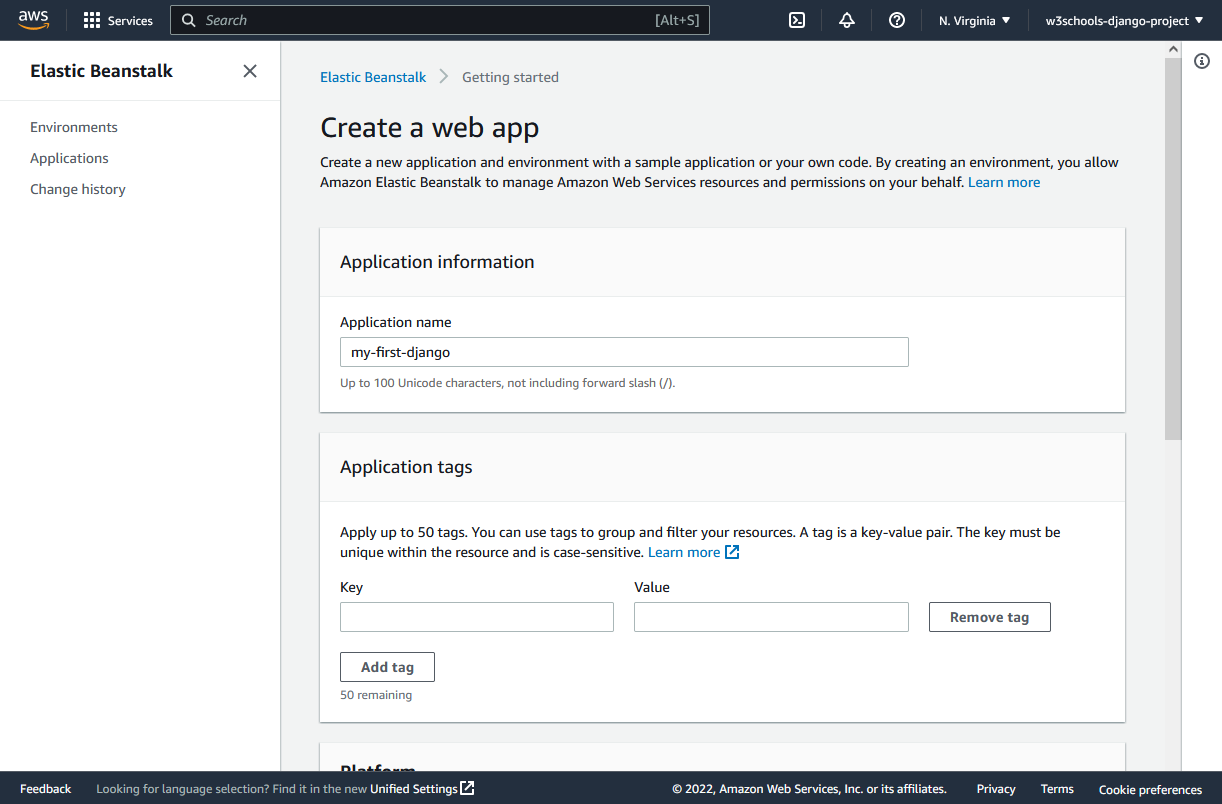
Selecting a Deployment Platform
Locate the “Platform” section (you may need to scroll down), and select “Python” along with the suggested version number.
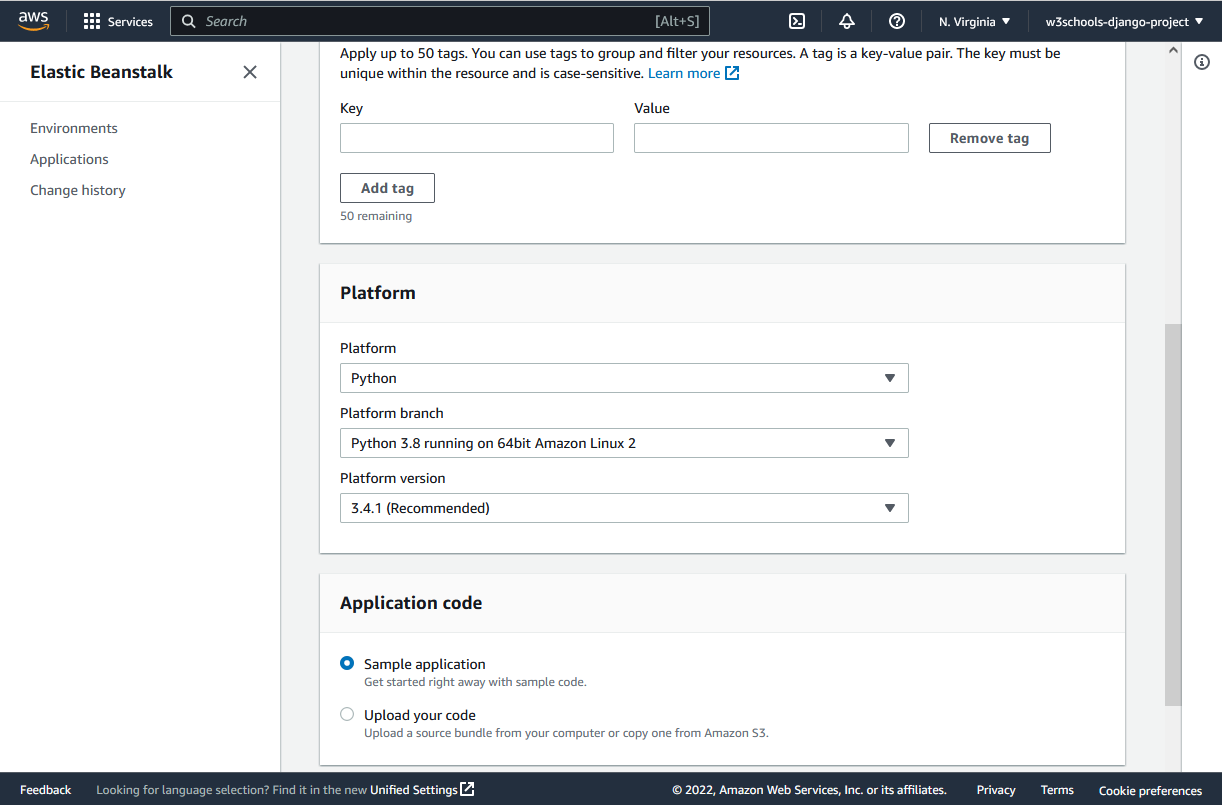
Deploying Your Project Archive
Locate the “Application code” section (you may need to scroll down) and choose the “Upload your code” option.
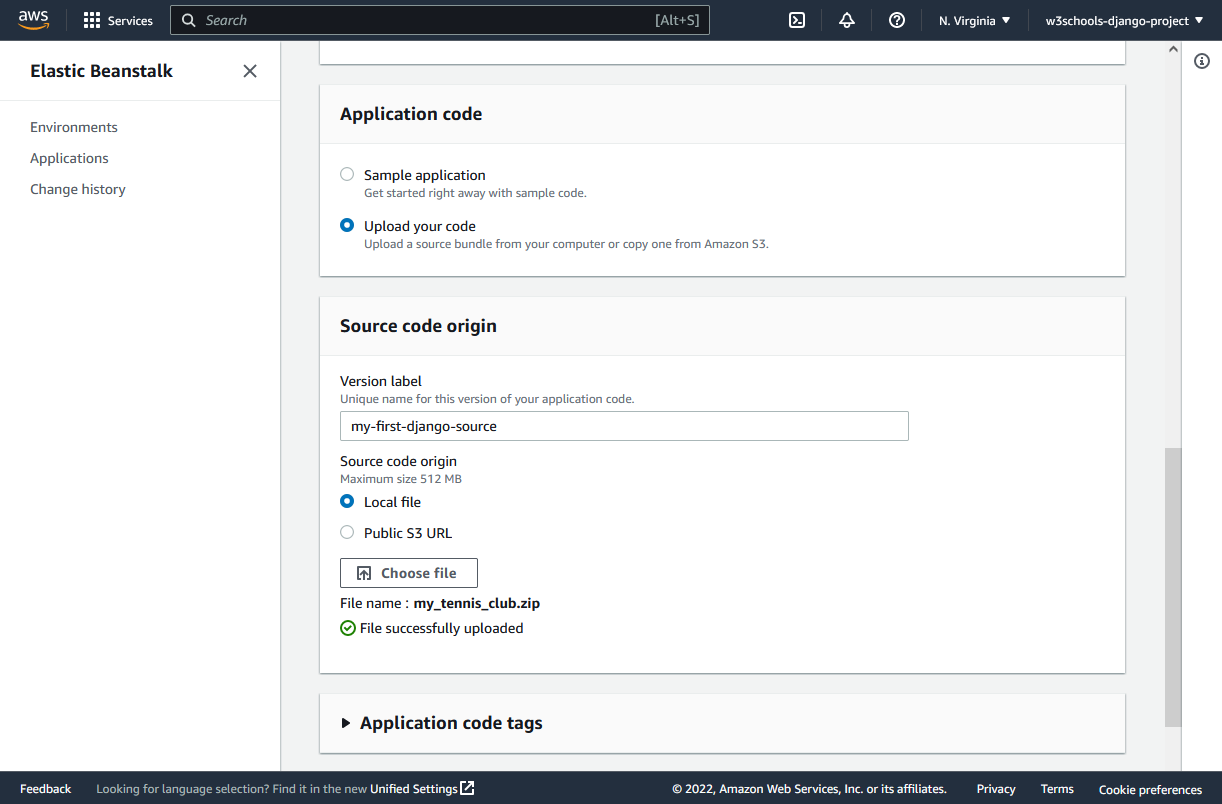
Your .zip file is uploaded; deployment is next!
Application Deployment
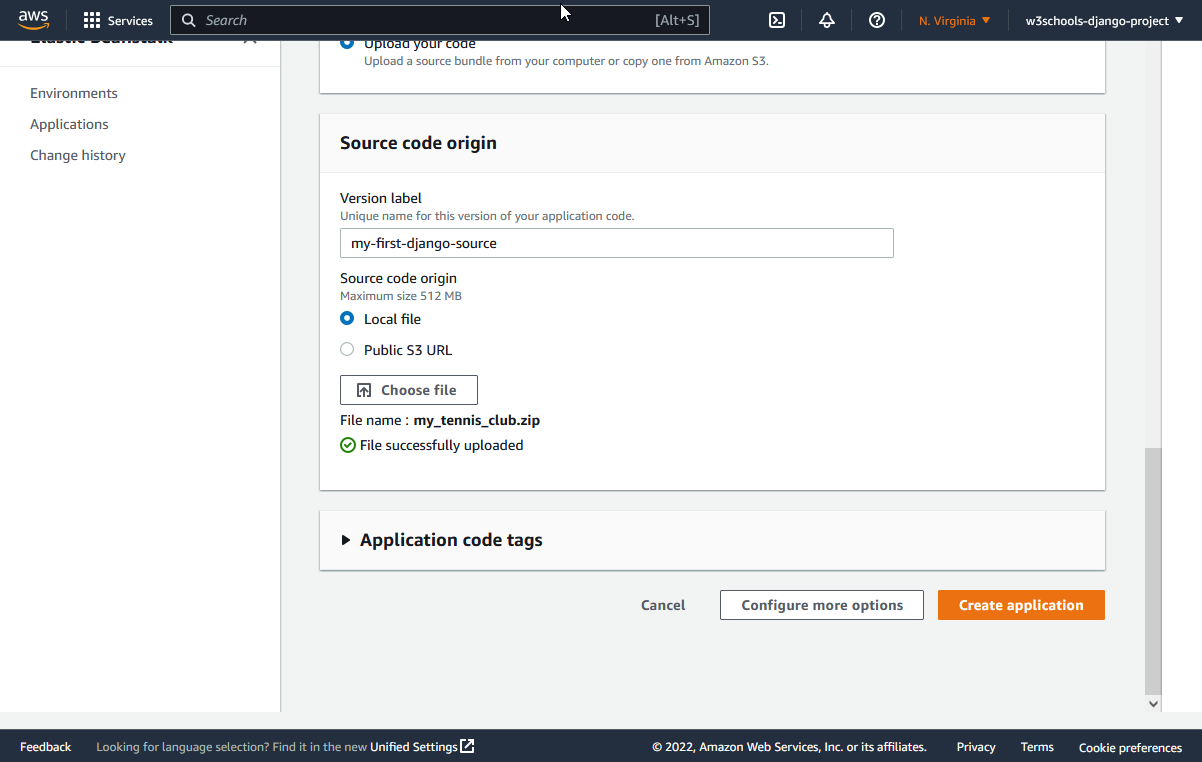
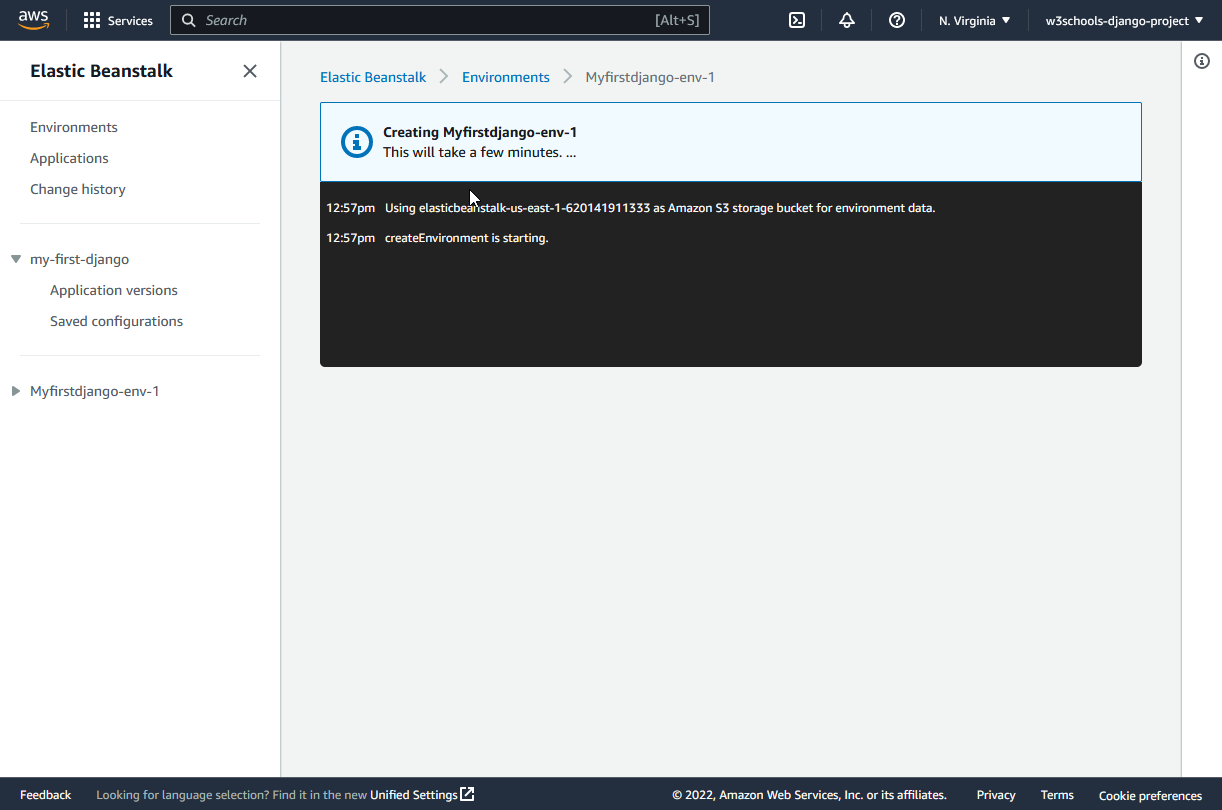
Awaiting Deployment Completion
Click the “Create application” button to begin deploying your application.
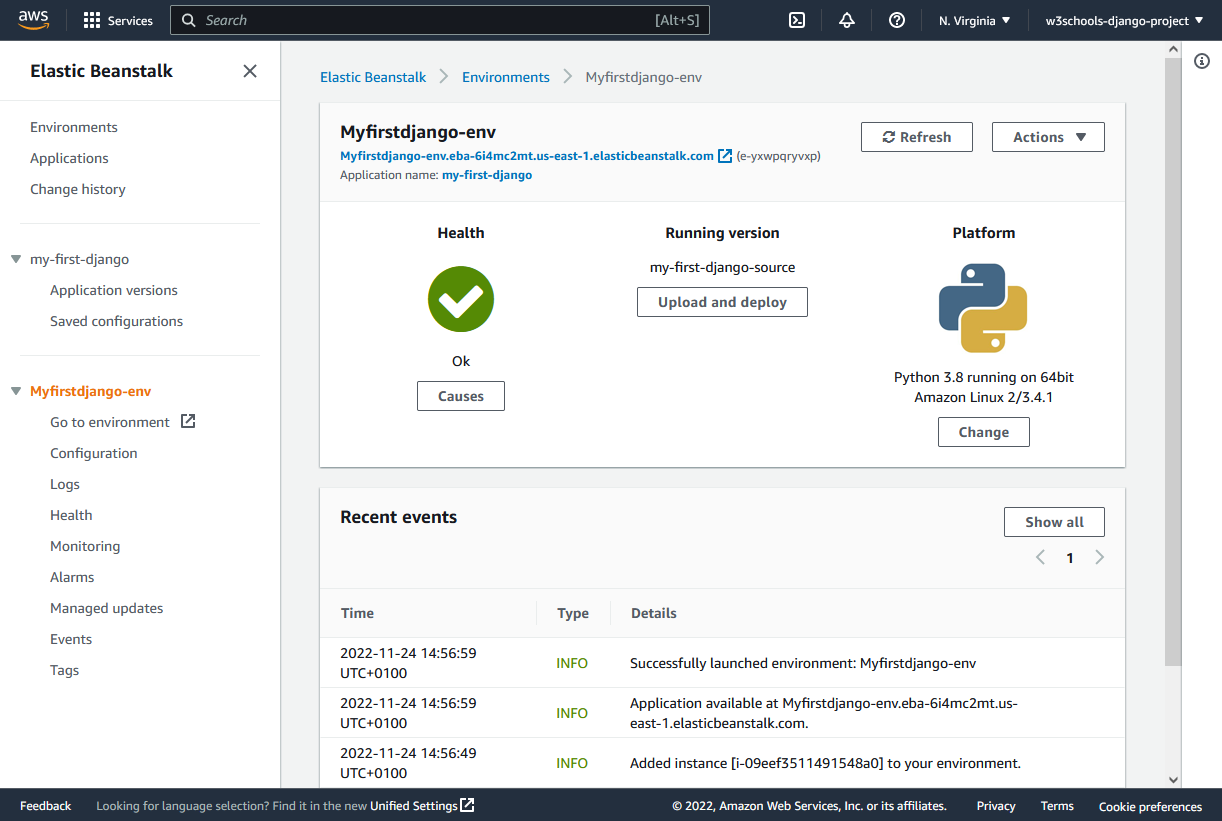
Deployment Achieved!
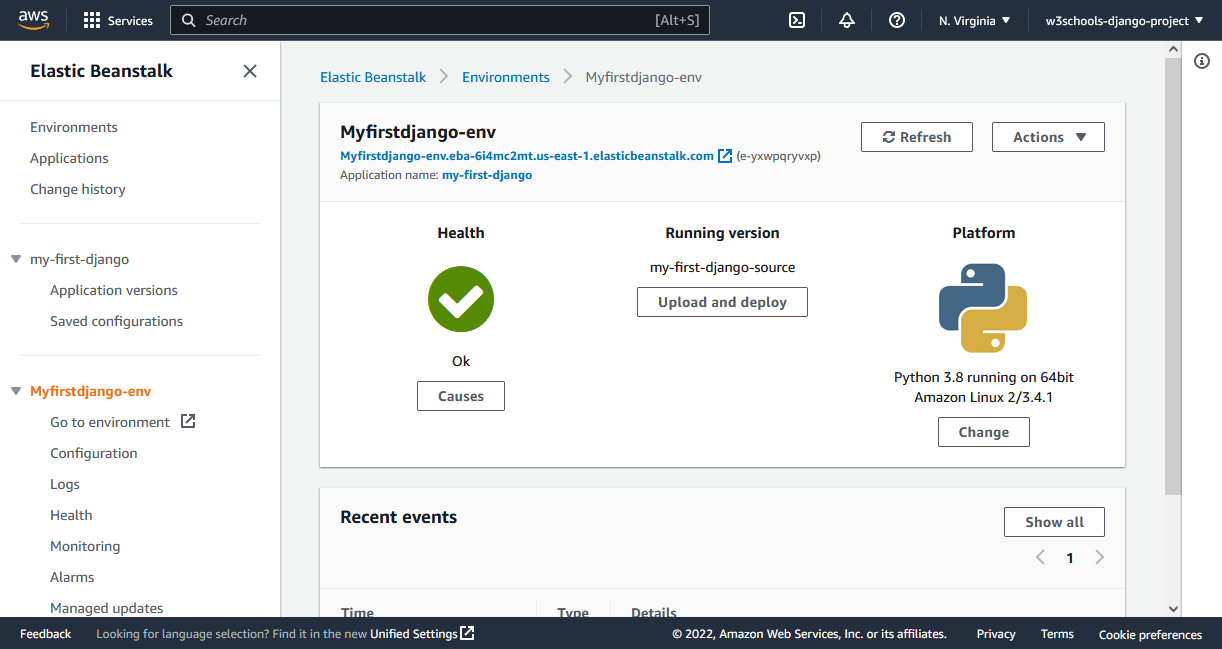
Your deployment is complete. To view your live project, click the link displayed beneath the “Myfirstdjango-env” header, or manually enter the host address into your web browser.
Updating a Deployed Django Project
Deploy Updates
To see local changes reflected in the deployed application, you must redeploy.
To see your updates live, package your modified code into a new .zip and upload it. This will replace the existing deployed version.
Create Archive
Create your .zip file by following the instructions in the “Create .zip File” chapter.
Begin by selecting the relevant files and directories for your project; if you have the same project as we did in our tutorial, choose the highlighted files in the example below:
my_tennis_club
    .ebextensions/
    members/
    my_tennis_club/
    mystaticfiles/
    productionfiles/
    db.sqlite3
    manage.py
    requirements.txt
Right-click and select “Create Zip File.“
You now have a.zip file with the modifications, which you can submit to Elastic Beanstalk.
my_tennis_club
    .ebextensions/
    members/
    my_tennis_club/
    mystaticfiles/
    productionfiles/
    db.sqlite3
    manage.py
    my_tennis_clup.zip
    requirements.txt
Uploading Your Application to Elastic Beanstalk
Log into your Amazon Web Services account and locate your project in the “Elastic Beanstalk” application.

Click on the “Upload and deploy” button.
Choose Application .zip
Click the “Choose file” button to upload the.zip file you just prepared.
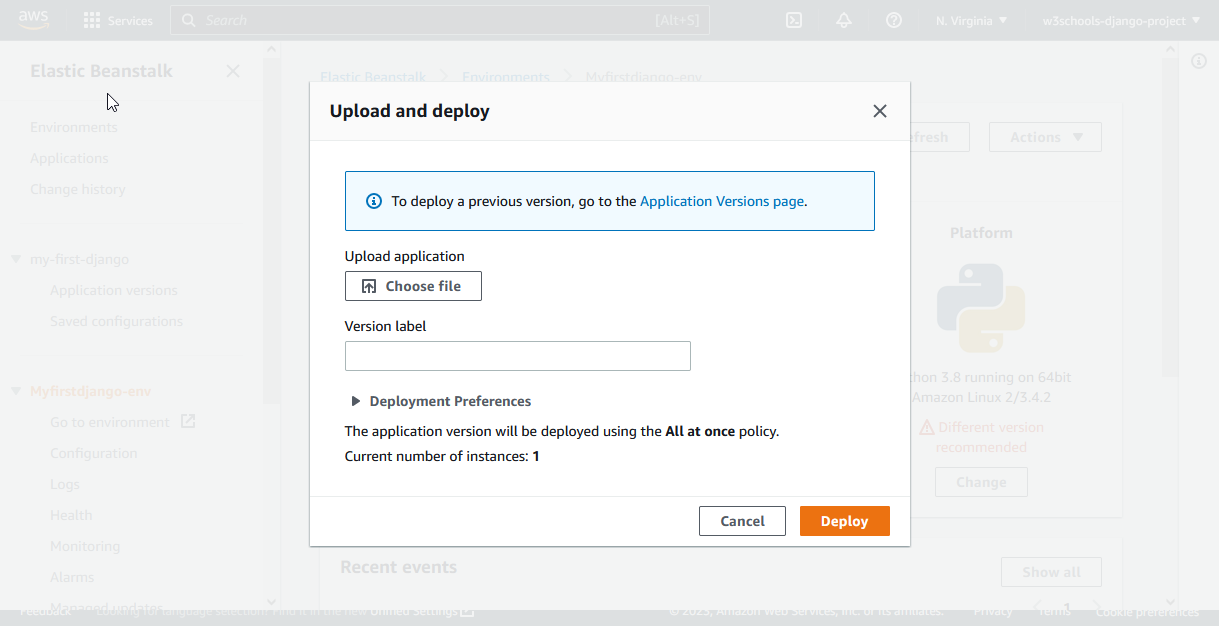
Initiate Deployment
Click the “Deploy” button:
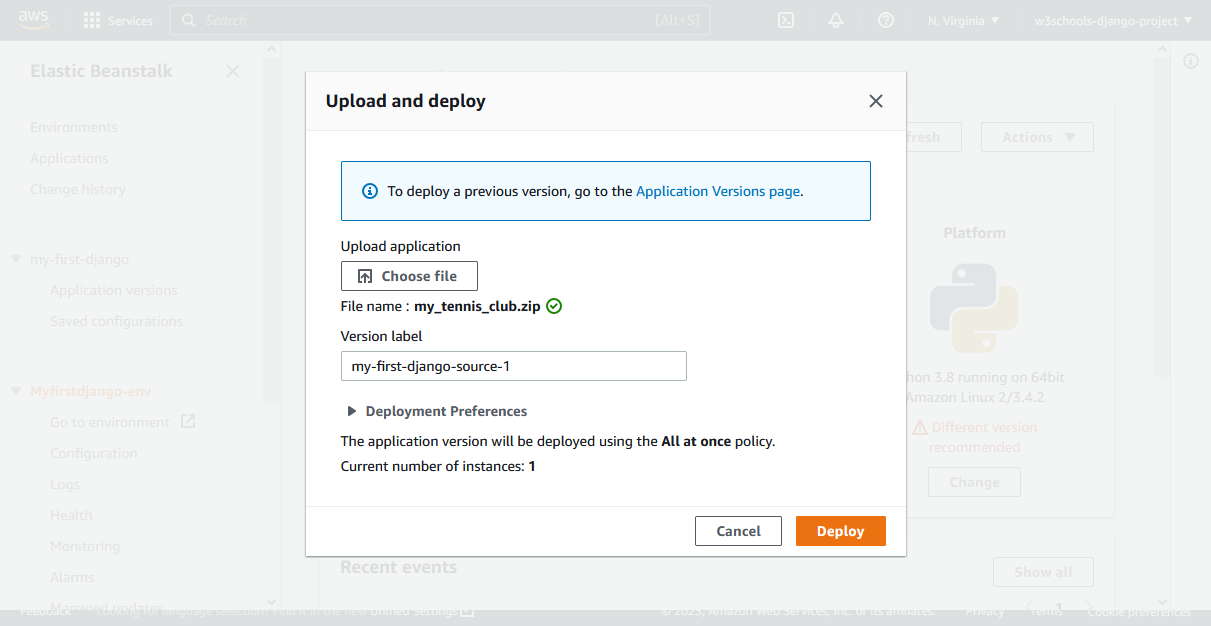
Upload Finished
That’s all, your project has been updated to reflect all of the new modifications.
