Making a project accessible to others online is known as deployment.
Up to this point, our Django project has been a work in progress, running solely on your local machine—what developers call the “development” environment. Now, we’re ready for the next exciting stage: deployment to “production,” where your application will be accessible to the world.

Choosing a Django Hosting Provider
Deploying your Django project is easy with AWS. This tutorial uses AWS’s free tier, eliminating the need for upfront costs and making deployment accessible to everyone. All you need is an AWS account.
AWS
Open your AWS account and log in. (If you don’t already have an AWS account, proceed as outlined in the chapter on creating an AWS account.)
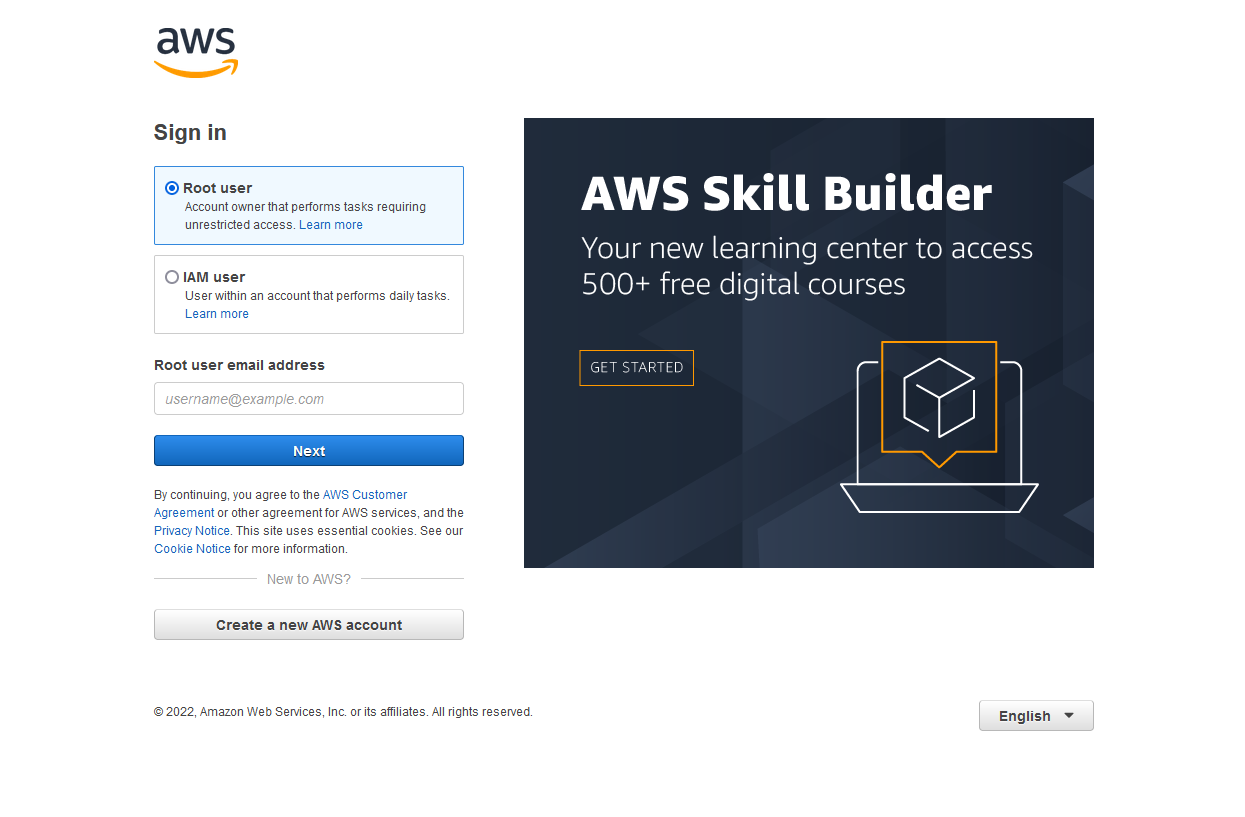
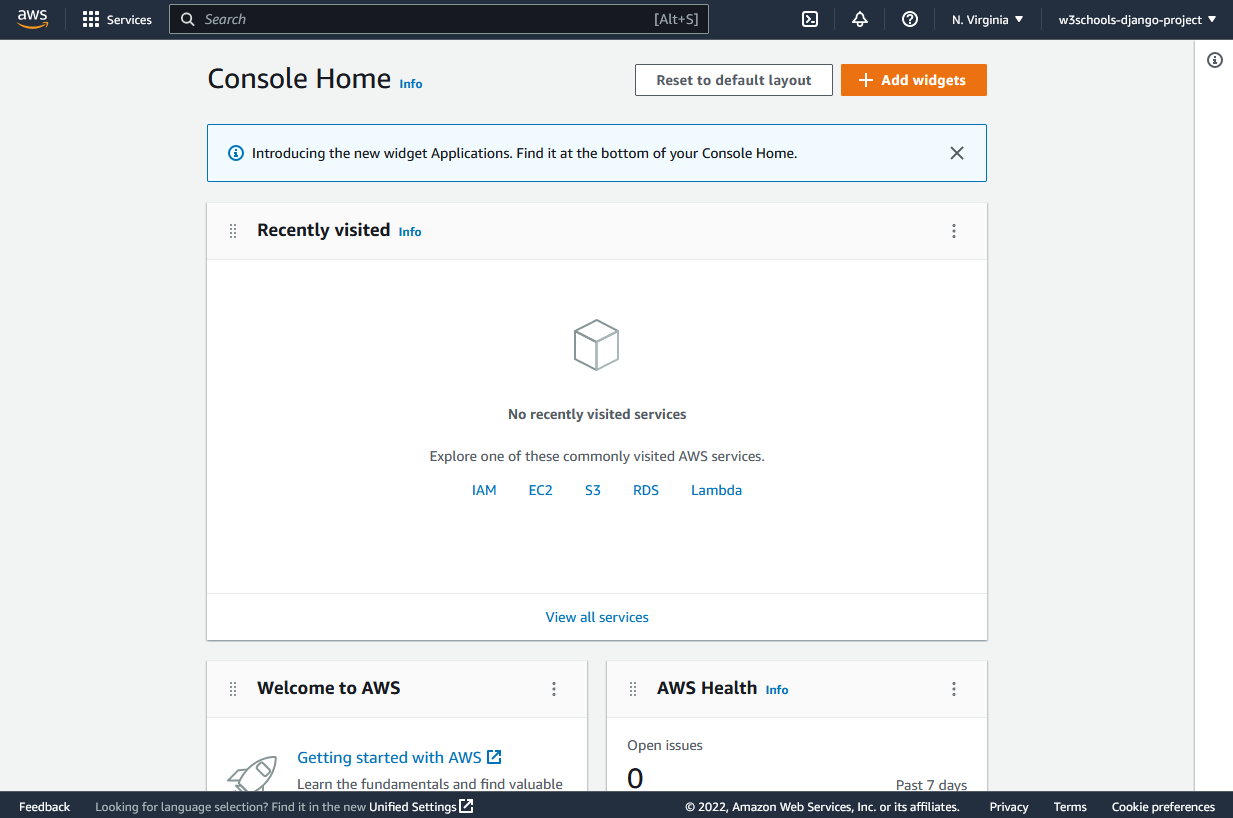
Amazon Web Services Console
You ought to be taken to the AWS Console Home page after logging in:
Elastic Beanstalk Deployment
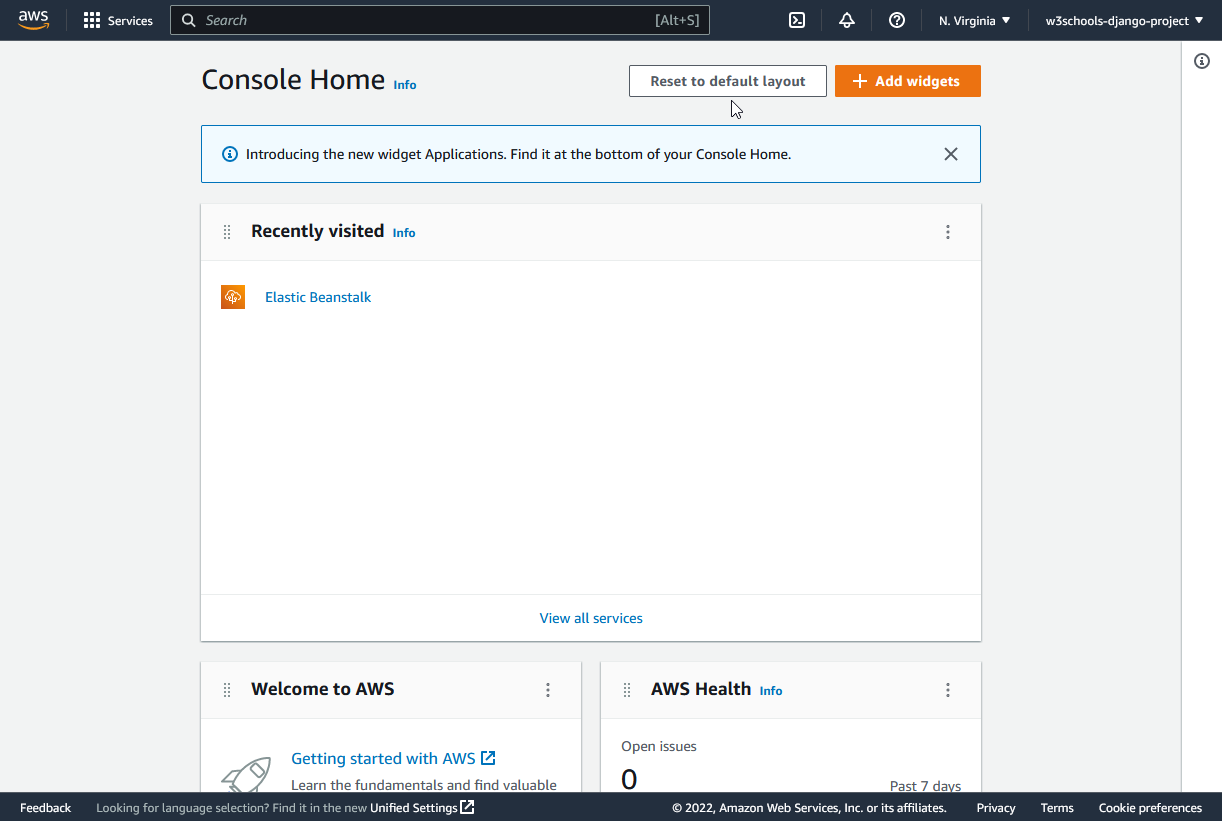
The “Elastic Beanstalk” service will be used to deploy the Django project.
To begin the service, type “elastic beanstalk” into the search bar at the top and click:
Locking Dependencies
We can begin the deployment as soon as you have launched the “Elastic Beanstalk” service, but first we must lock in some dependencies, which entails preparing your local Django project for deployment.
It will be covered in the upcoming chapters.
Setting Up Requirements for Django Deployment
Locking Dependencies
There are some Python packages that your project requires when you build a Django application.
Your Django project, along with all its required Python packages, must be installed on the deployment server. This ensures a seamless transition from development to production
Fortunately, there is also a command for this; simply execute it in the command view:
py -m pip freeze > requirements.txtThe aforementioned program creates a requirements.txt file in the project as a result:
my_tennis_club
    members/
    my_tennis_club/
    mystaticfiles/
    productionfiles/
    db.sqlite3
    manage.py
    requirements.txt
All of the packages required for this project are included in the file.
my_tennis_club/requirements.txt:asgiref==3.5.2
Django==4.1.4
psycopg2-binary==2.9.5
sqlparse==0.4.3
tzdata==2022.7
whitenoise==6.2.0Django Deployment: Configuration
Hosting Provider Configuration
AWS Elastic Beanstalk, our chosen deployment service, has particular configuration needs that we’ll address in this tutorial.
.ebextensions for Django
You must make a folder named .ebextensions at the root level of your project in order to do this:
my_tennis_club
    .ebextensions/
    members/
    my_tennis_club/
    mystaticfiles/
    productionfiles/
    db.sqlite3
    manage.py
    requirements.txt
Django config.py
Make a django.config file in the .ebextensions folder:
my_tennis_club
    .ebextensions/
        django.config
Launch the file, then enter these parameters:
option_settings:
  aws:elasticbeanstalk:container:python:
    WSGIPath: my_tennis_club.wsgi:application
Creating a Zip File for Django Deployment
Compress Project
It is not possible to zip the entire project folder when wrapping your project into a.zip file; instead, you must manually select the files and folders.
In the example below, the files to be included in the.zip file:
my_tennis_club
    .ebextensions/
    members/
    my_tennis_club/
    mystaticfiles/
    productionfiles/
    db.sqlite3
    manage.py
    requirements.txt
Go to the project folder in your file explorer, pick out these files and folders, then right-click and select “Create a Zip File.”
Zip Archive File
Your project is now in a.zip file that you can upload to Elastic Beanstalk:
my_tennis_club
    .ebextensions/
    members/
    my_tennis_club/
    mystaticfiles/
    productionfiles/
    db.sqlite3
    manage.py
    my_tennis_clup.zip
    requirements.txt