It makes sense for our Vue project to utilize *.vue files because:
- When templates and components are used, managing larger projects becomes simpler.
- The https protocol allows us to view and test our project as users would see the page. When you save changes, the page instantly updates without requiring a page reload.
- This is how actual Vue web pages are constructed.
- Developers operate in this manner.

Why is the Vue scale increasing?
As demonstrated on the previous page regarding Vue templates and components, we now need to operate in a different manner since we wish to:
We need to convert to *.vue files in order to have larger projects, collect all Vue-related code in one location, use components in Vue (which we will discuss soon), have auto-completion and highlighting support in the editor, and have the browser update automatically.
How is the Vue scale increasing?
In order for the browser to execute our Vue application, we must configure our computer to compile our *.vue files into *.html, *.css, and *.js files. SFCs (Single File Components), also known as *.vue files, are simpler to deal with but cannot run directly in the browser.
In order to create our SFC-based webpage, we utilize an application called Vite as the build tool and write our code in Visual Studio Code using the Volar extension for Vue 3 language capabilities.
Configuration in Increasing Vue Scale
To install the necessary software for running Vue SFC apps on your PC, follow the three steps listed below.
1. The editor for “VS Code”
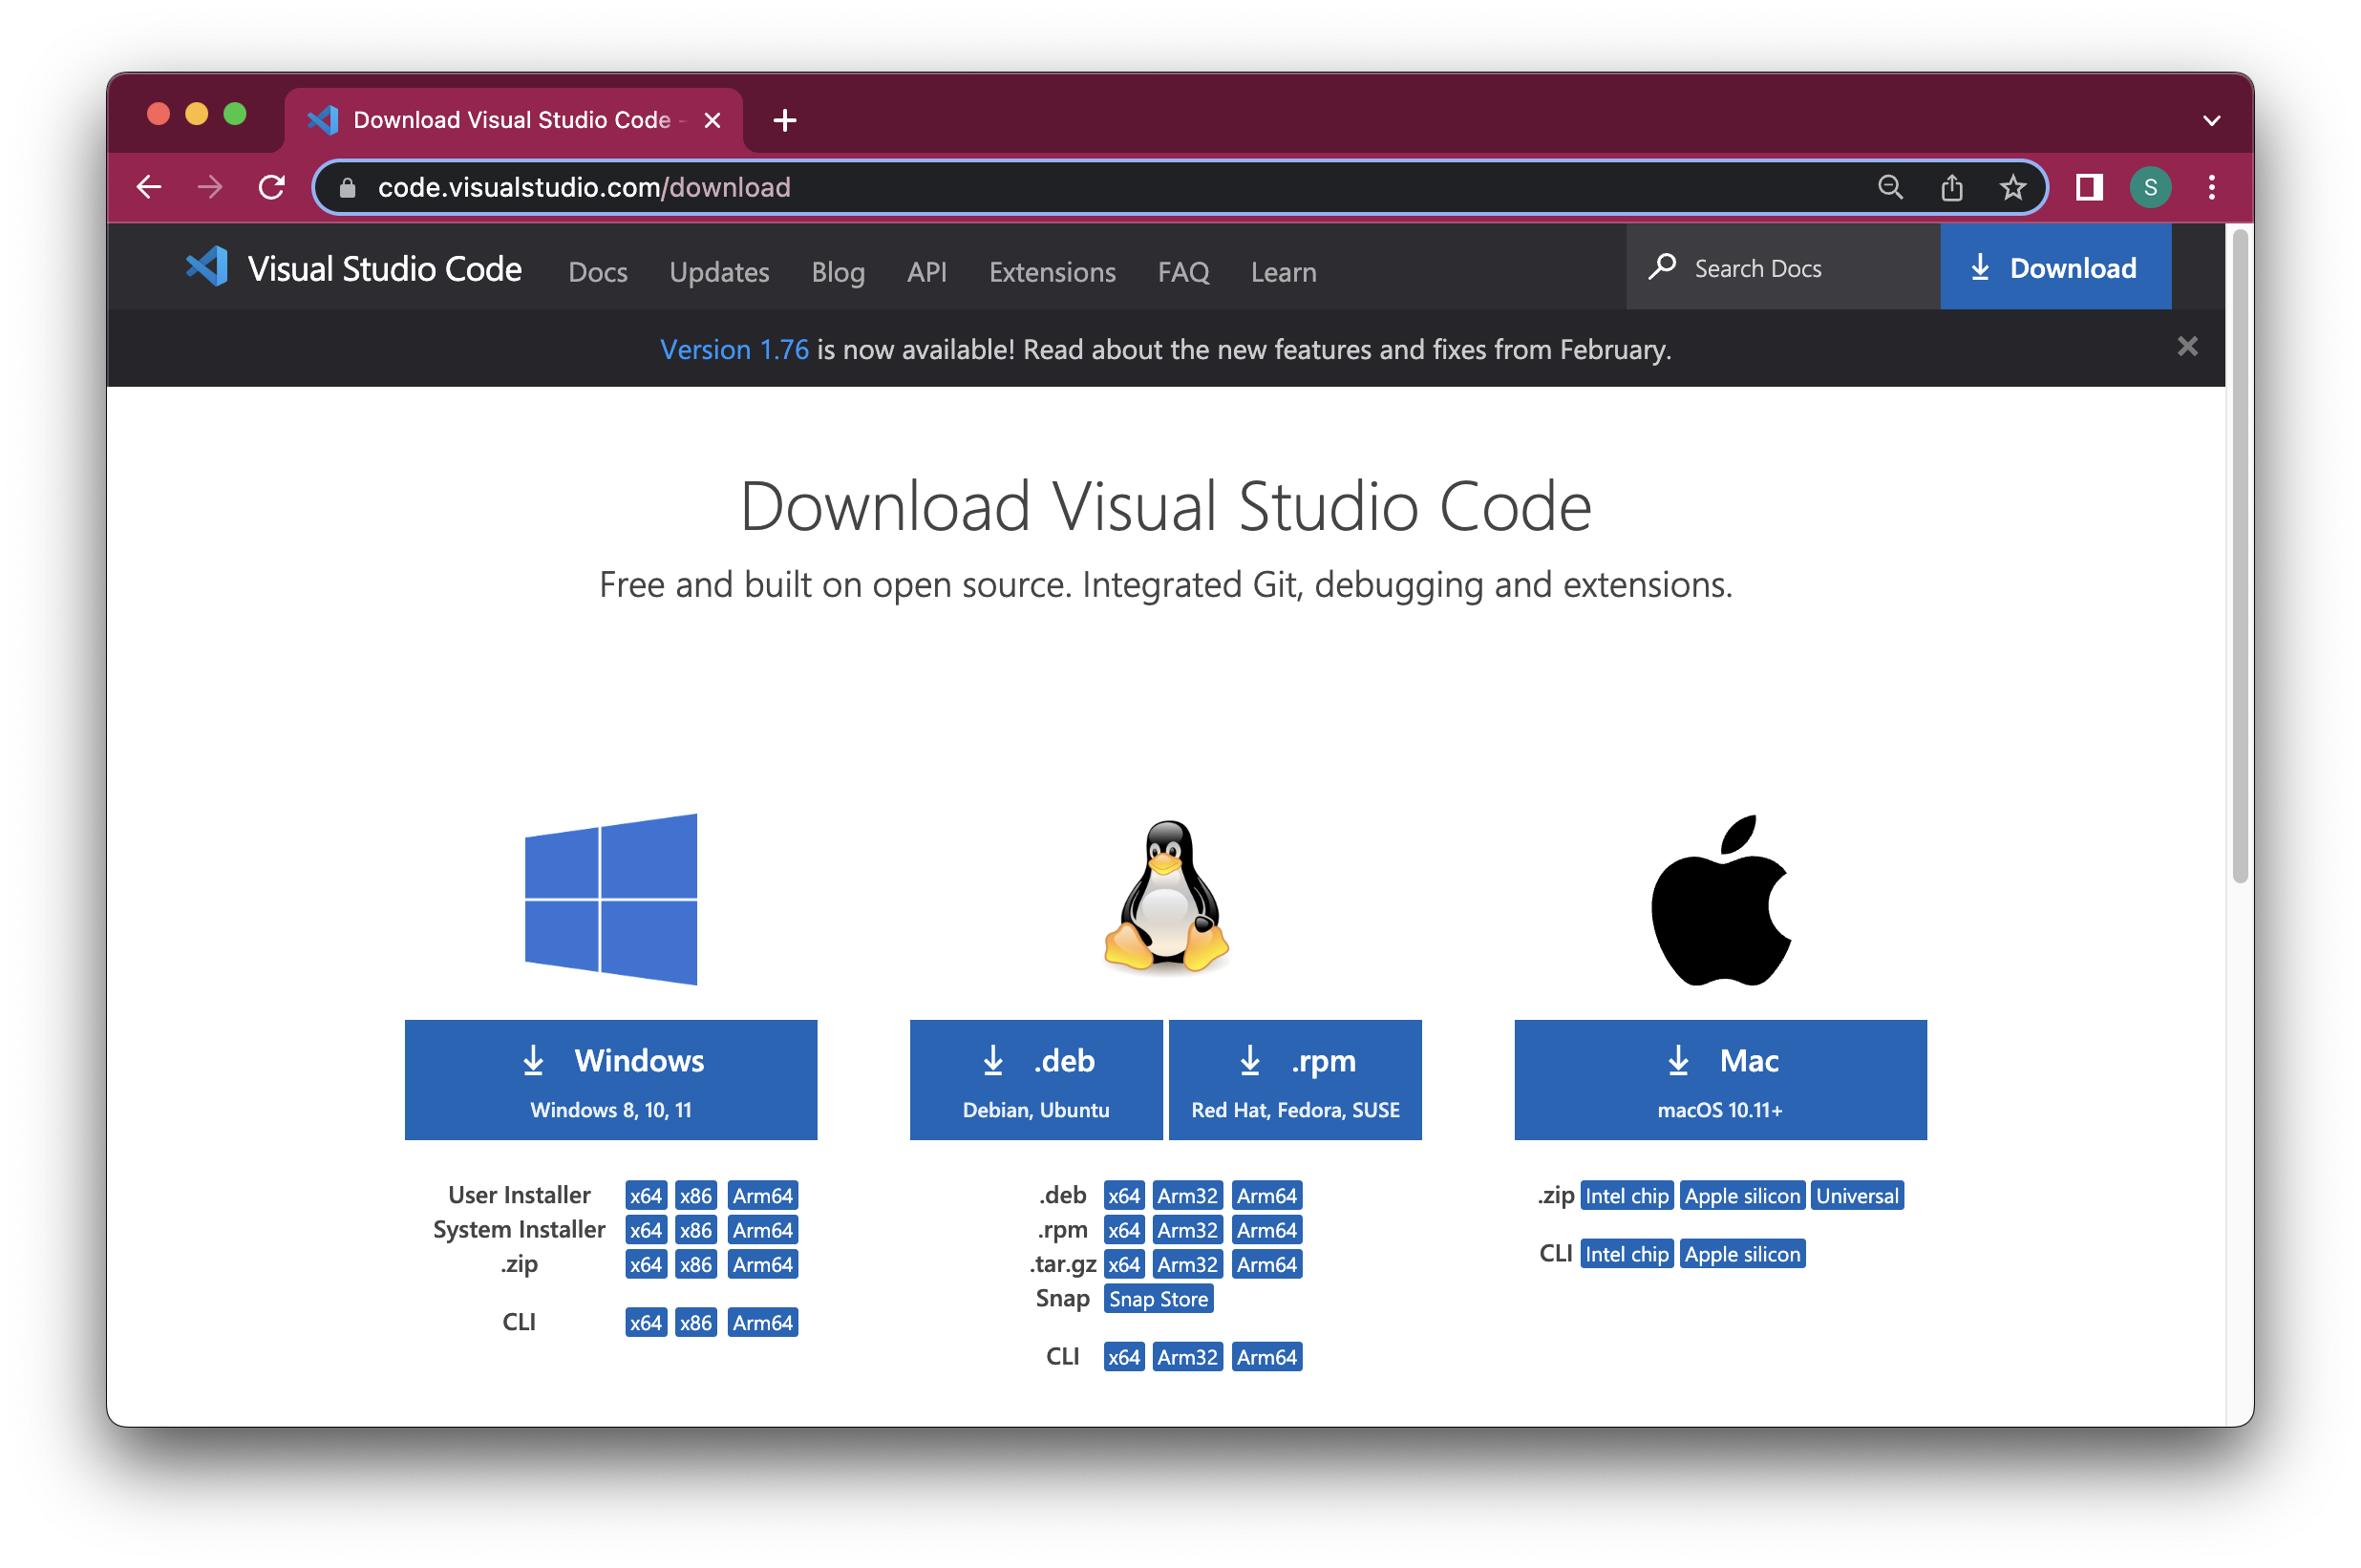
A wide variety of editors are available for use with Vue projects. VS Code is the editor that we utilize. Get Visual Studio Code and install it.
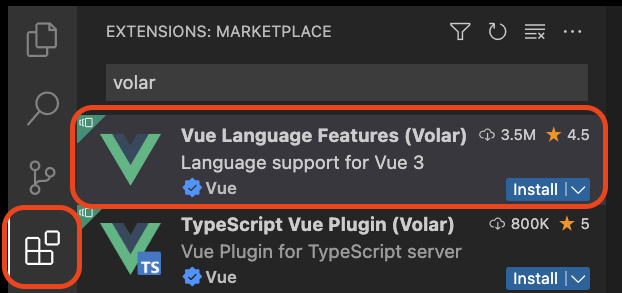
2. “Volar” Extension for Visual Studio Code
Open Visual Studio Code and select “Extensions” from the left-hand menu to enable highlighting and auto-completion for *.vue files in the editor. Do a search for “Volar” and install the most downloaded extension with the description “Language support for Vue 3”.
3. Using Node.js to Expand the Vue Scale
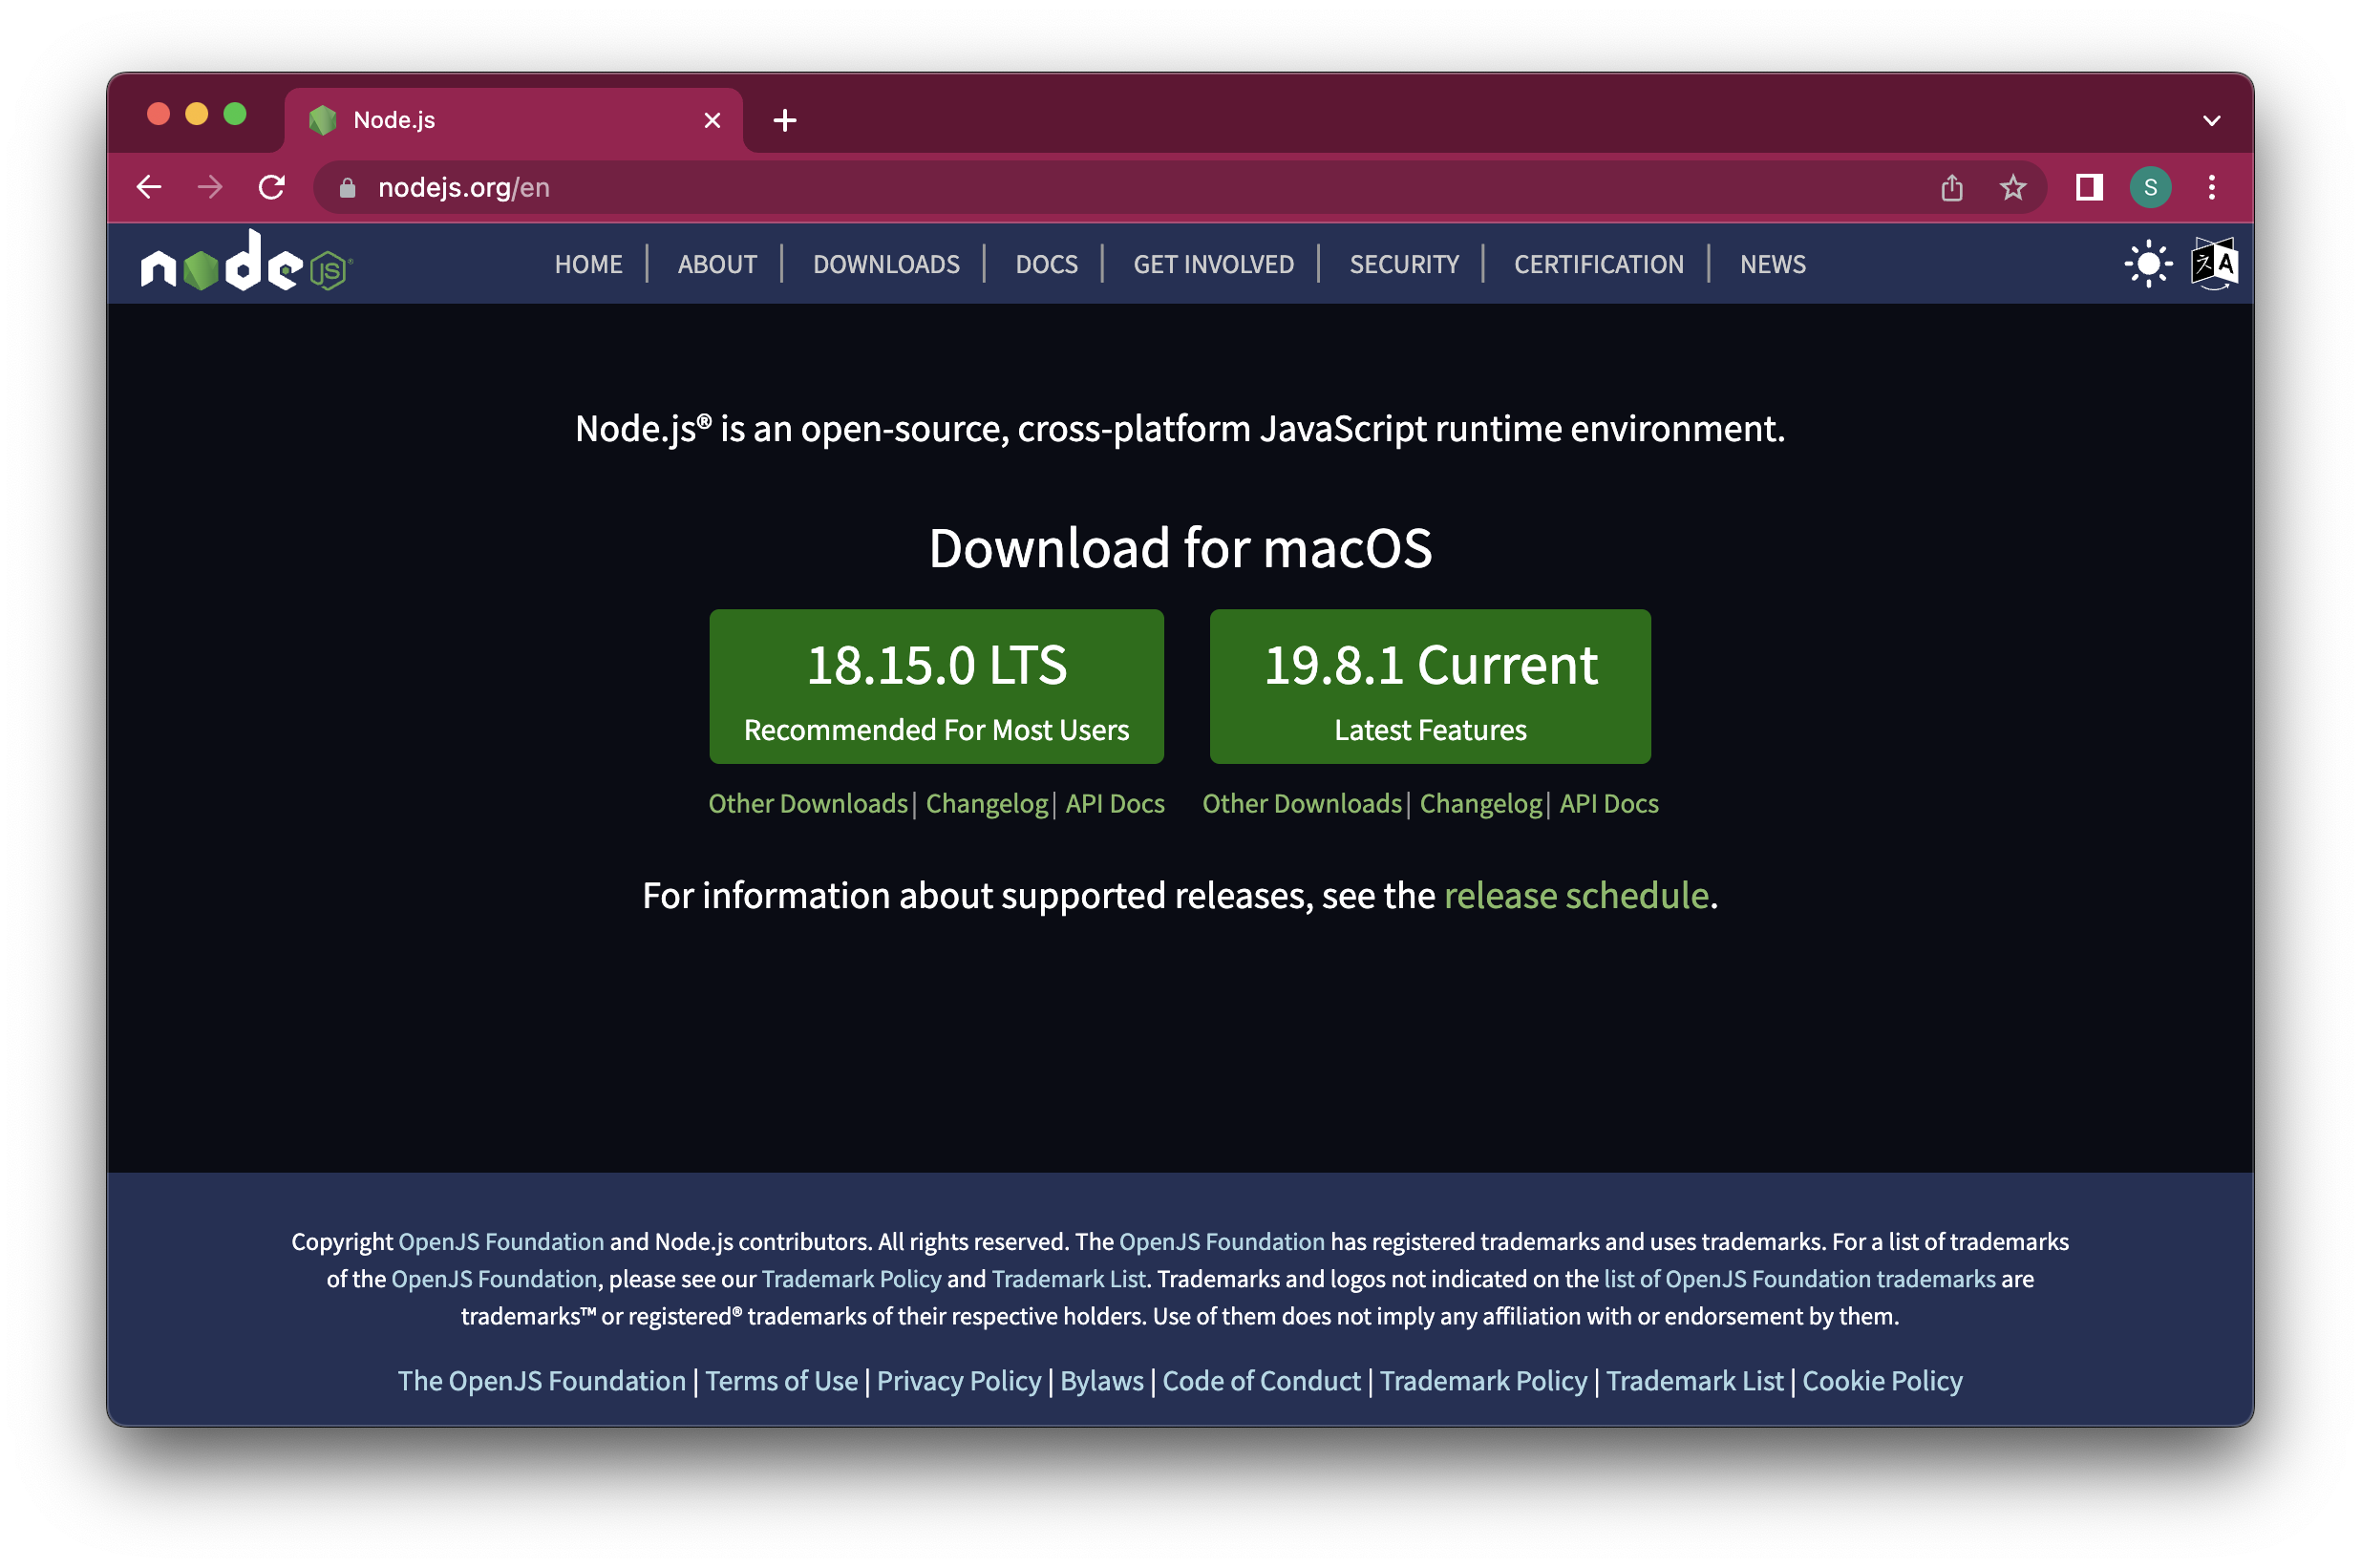
Get and install the latest version of Node.js because the Vue build tool “Vite” depends on it.
An open-source server-side JavaScript runtime environment is called Node.js.
Create a default example project as a starting point
To create the default Vue example project on your PC, follow the instructions below.
4. On your PC, make a folder for your Vue projects.
5. To open a terminal in Visual Studio Code, select Terminal -> New Terminal from the menu:

6. To access the Vue folder you just created, use the terminal and commands like cd , cd.., ls (Mac/Linux), and dir (Windows). If you are unfamiliar with using the terminal to write commands, see our overview of the Command Line Interface (CLI) here.
7. Once you have accessed your Vue folder in the terminal, type the following:
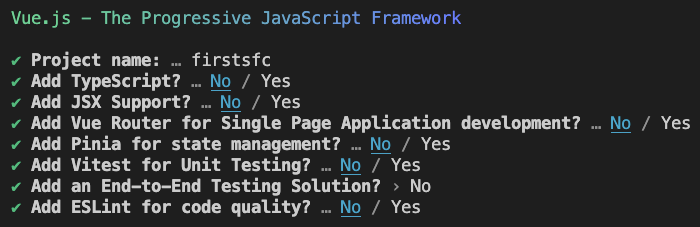
npm init vue@latest8. Make your first project and call it “firstsfc”:

9. Respond “No” to every choice:
10. This should now appear in your terminal:
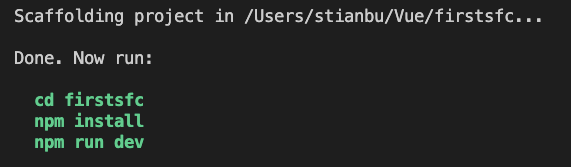
11. Now, we’ll execute the instructions as previously advised.
Use this command to go to the ‘firstsfc’ folder and start your new project:
cd firstsfc12. To ensure the Vue project functions, install all necessary dependencies:
npm install13. Launch the development server:
npm run dev14. This is how the terminal window should now appear:
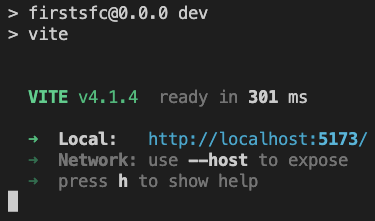
The sample project should then launch immediately in your browser:
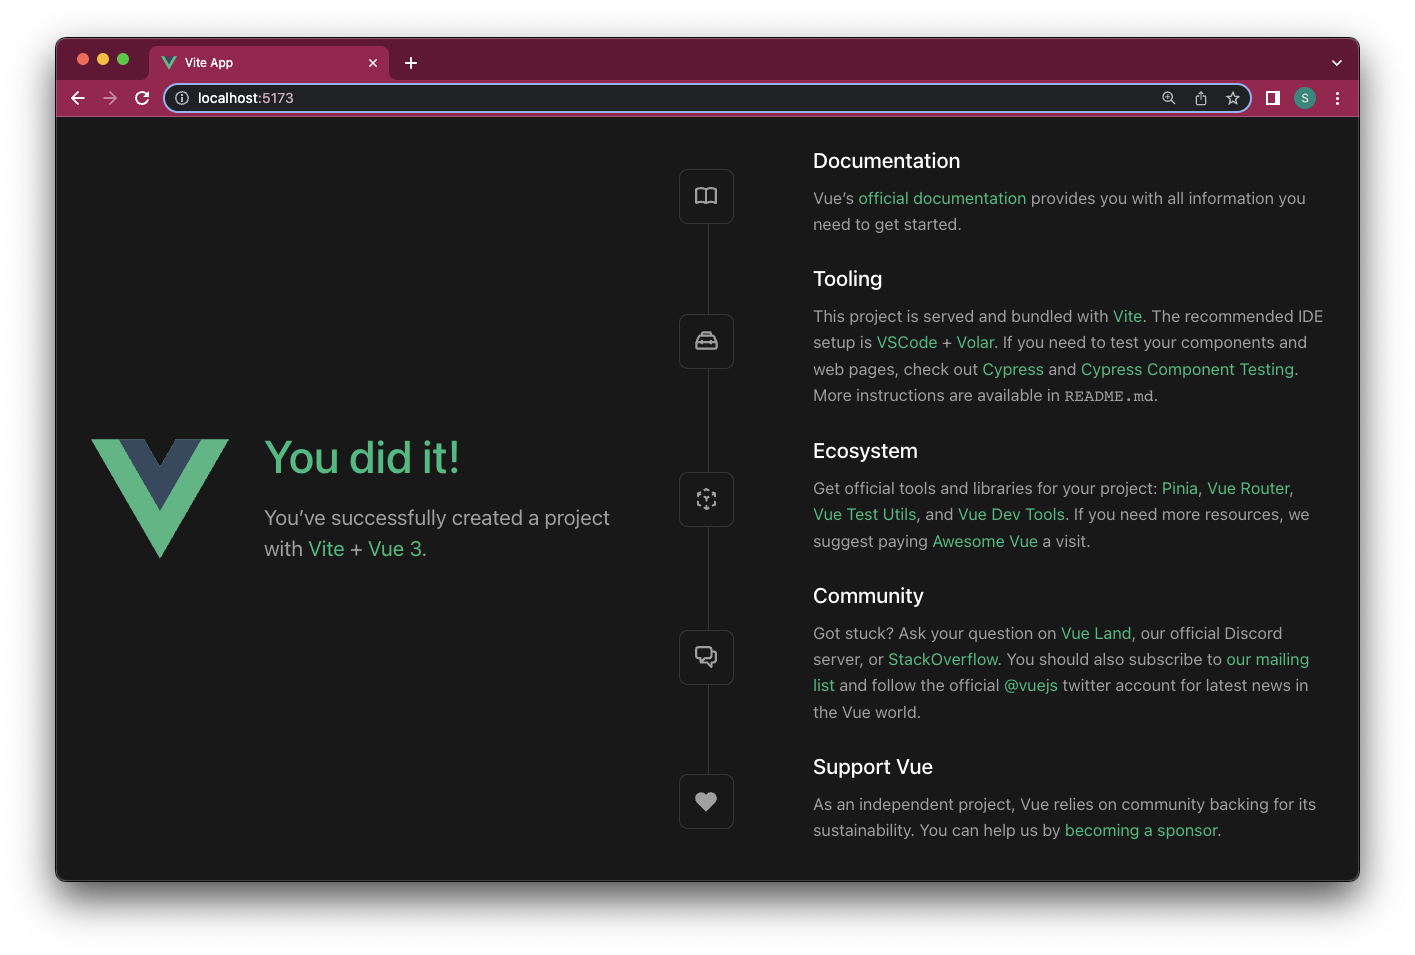
Use the terminal link to access the example project if you are unable to locate it in the browser. It is possible that the address in the screenshot above differs from the URL you see in your terminal window.
Currently, the Vite build tool is executing the example project in development mode on your computer.
Project Documents
There are several files in the automatically generated sample project, and we will quickly examine a handful of them.
Increasing Vue Scale using main.js
In the VS Code editor, navigate to your Vue project and locate the “main.js” file in the “src” folder:
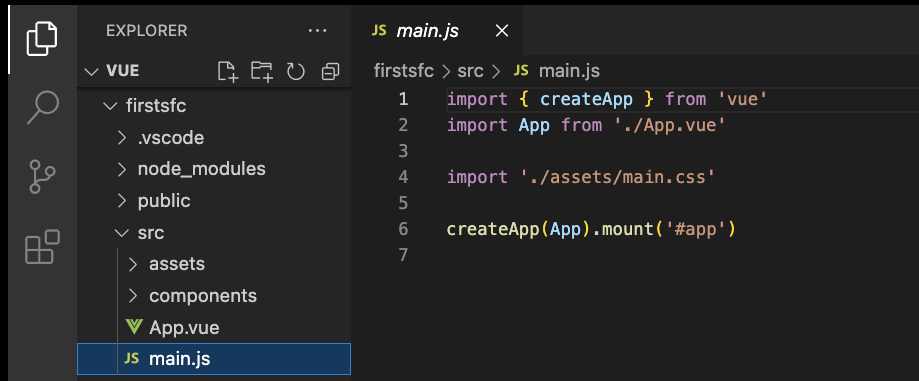
The “main.js” file instructs Vite on how to construct the Vue project using the “App.vue” file. Similar to how we mounted the Vue instance to the tag and provided a CDN link with the script tag to instruct the browser on how to execute our Vue code, this is possible here.
Increasing the Vue Scale with App.vue
Open the “App.vue” file from the same example project folder. Similar to all other *.vue files, “App.vue” is composed of three components: a script, a template, and a style section.
App.vue:
<script setup>
import HelloWorld from './components/HelloWorld.vue'
import TheWelcome from './components/TheWelcome.vue'
</script>

<template>
  <header>
    <img alt="Vue logo" class="logo" src="./assets/logo.svg" width="125" height="125" />

    <div class="wrapper">
      <HelloWorld msg="You did it!" />
    </div>
  </header>

  <main>
    <TheWelcome />
  </main>
</template>

<style scoped>
header {
  line-height: 1.5;
}

.logo {
  display: block;
  margin: 0 auto 2rem;
}

@media (min-width: 1024px) {
  header {
    display: flex;
    place-items: center;
    padding-right: calc(var(--section-gap) / 2);
  }

  .logo {
    margin: 0 2rem 0 0;
  }

  header .wrapper {
    display: flex;
    place-items: flex-start;
    flex-wrap: wrap;
  }
}
</style>
The script portion of “App.vue” refers to additional *.vue files, which are called “components” and are found in the “components” folder. Examining the ‘template’ section of the ‘App.vue’ file reveals two tags—HelloWorld and TheWelcome—that are not typical HTML elements. The components are referred to in this way. applications inside applications are called components. Components will be covered in more detail shortly.